Wish to quicken the project? Pick a fast-drying primer for the first layer. Read the label for details on recoating time and to see to it the primer works with the paint you're intending to use. Pro Tip: Use an enamel underbody guide. Water-based paint has come a lengthy way, and some top-quality acrylic alkyd crossbreeds competing oil-based paint.
Oil-based paint dries out gradually and levels well - painting cabinets. This provides you much more shift as well as fewer brush marks. Also, when they're completely dry, oil-based primers like Benjamin Moore Clean Slate Enamel Underbody sand easily to supply an excellent base for your finish coat.
3 out of 5 Modest Though it's simply repaint, obtaining the brushwork right takes time as well as persistence. Drill/driver Paint scraper Putty blade Shop vacuum with drywall-dust filter Random orbit sander Nylon-Polyester chisel-tip Paint brush - 2 1/2- Inch Safety goggles respirator fitted with organic vapor cylinders Chemical-resistant gloves If your cooking area cabinets are strong however dated as well as dark, a fresh coat of paint can go a long method towards transforming the area without draining your savings account.
Some Known Details About Prep 101: How To Prep Kitchen Cabinets For Fusion Mineral ...
" You do not require to spray to get a smooth finish," claims painting contractor John Dee, who has serviced a variety of This Old Residence TV tasks. cabinet painters reno. He commonly brush-paints cabinets anyhow due to the fact that it offers him much more control and also stays clear of the risk of paint spray finishing up where it's not desired.
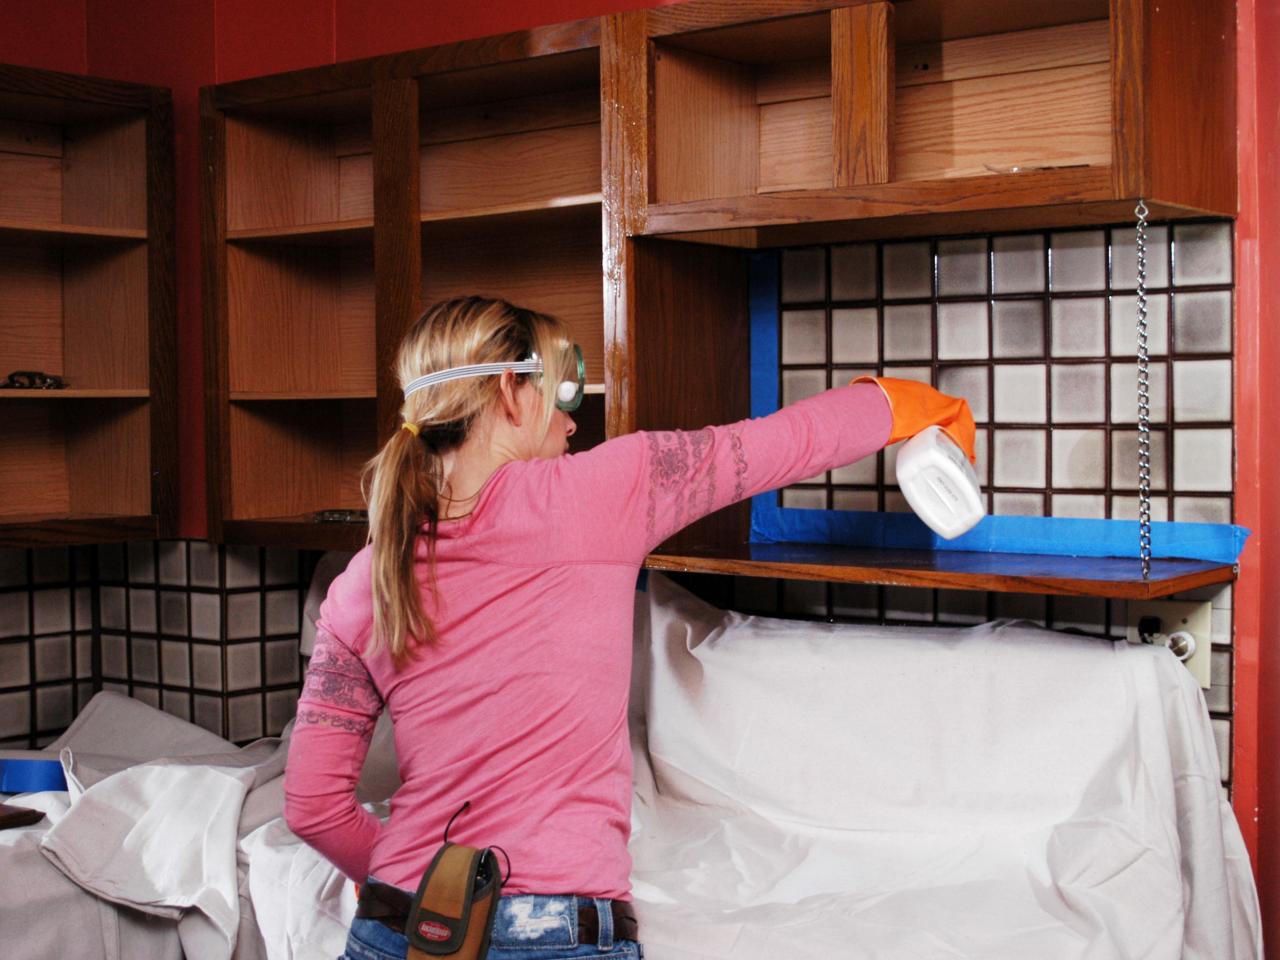
But the result is a resilient, glass-smooth finish that's the equivalent of anything from a spray gun. "You simply need to make use of the very best materials and also take the time to sand and do the brushwork right," Dee states. Keep reading for our tips for paint kitchen area cabinets. Prior to beginning a kitchen paint task, vacant the closets, clear off the counters, as well as get rid of freestanding appliances.
Tape rosin paper over the counter tops and also floor covering, as well as tape plastic sheet over the backsplash, windows, repaired appliances, and also interior doorways (to safeguard the remainder of the home from dirt and also fumes). Conceal bizarre around the cupboards. Finally, established a worktable for paint doors, cabinets, and shelves.
The Key To Repainting Kitchen Cabinets - Fci Painting for Dummies
" Old cabinets are covered with every little thing from hand oils to greasy smoke residue to scared sauce," states Dee. "You have actually got to get all that off or the paint will not stick." Back out the joint screws from the cabinet structure and eliminate the doors. Functioning methodically from entrusted to right, leading to base, label every one with a phoned number item of tape.
Reserve the shelf-hanging hardware. At your worktable, remove the pulls and hinges as well as conserve what's being recycled. On the doors, move the number from the tape to the revealed wood under one hinge. Cover it with fresh tape. Open up the windows for ventilation and also place on security gear. Scrub down every one of the face structures, doors, cabinet fronts, and also shelving with an abrasive pad dipped in liquid deglosser.
Before the deglosser evaporates, swiftly clean away the deposit with an additional clean, deglosser-dampened cloth. If you're transferring the hardware, fill up the old screw holes with a two-part polyester timber or autobody filler. It establishes in about 5 mins, so blend just tiny sets. (Dee adds a pea-size little bit of hardener to a golf-ball-size glob of filler.) The filler reduces a bit, so overfill the openings somewhat.
6 Easy Facts About How To Prep And Paint Kitchen Cabinets - Southern Living Shown

If it hardens totally, sand it smooth. Sand all surface areas with the grain making use of 100-grit paper (painting cabinet ideas). To make sure no littles dirt mar the finish, vacuum the closets inside and also out, then rub them down with a tack towel to catch any kind of particles that the vacuum misses out on. Dee states, "Hand sanding is the most effective technique on oak due to the fact that you can push the paper right into the open grain, which a power sander or sanding block will certainly miss." When making use of a tack fabric, unravel each new fabric totally, down to one layer, after that fold it to obtain the best dirt collection surface.
Yet they just sink right into open-grained woods such as oak, ash, mahogany, or hickory. Combing putty, the pudding-thick, oil-based layer Dee utilized on these oak closets, fills up the grain as it tops the wood. A number of caveats: It ought to be used with a good-quality nylon-polyester brush, which you'll have to toss away after each layer.
Starting on top of the cupboard, brush on the guide or cleaning putty across the grain, after that "tip off" pass the brush lightly over the damp surface towards the grain. Constantly tip off in a solitary stroke from one end to the other. Give it a day to completely dry.
read here